
Whether you’re looking to become the next big fashion photographer, or you’ve just bought a DSLR to start a new hobby, here are our 5 top tips that will truly elevate your photography game, and help you build a strong foundation. You’ll thank us later.
1. How to hold your camera – the right way!
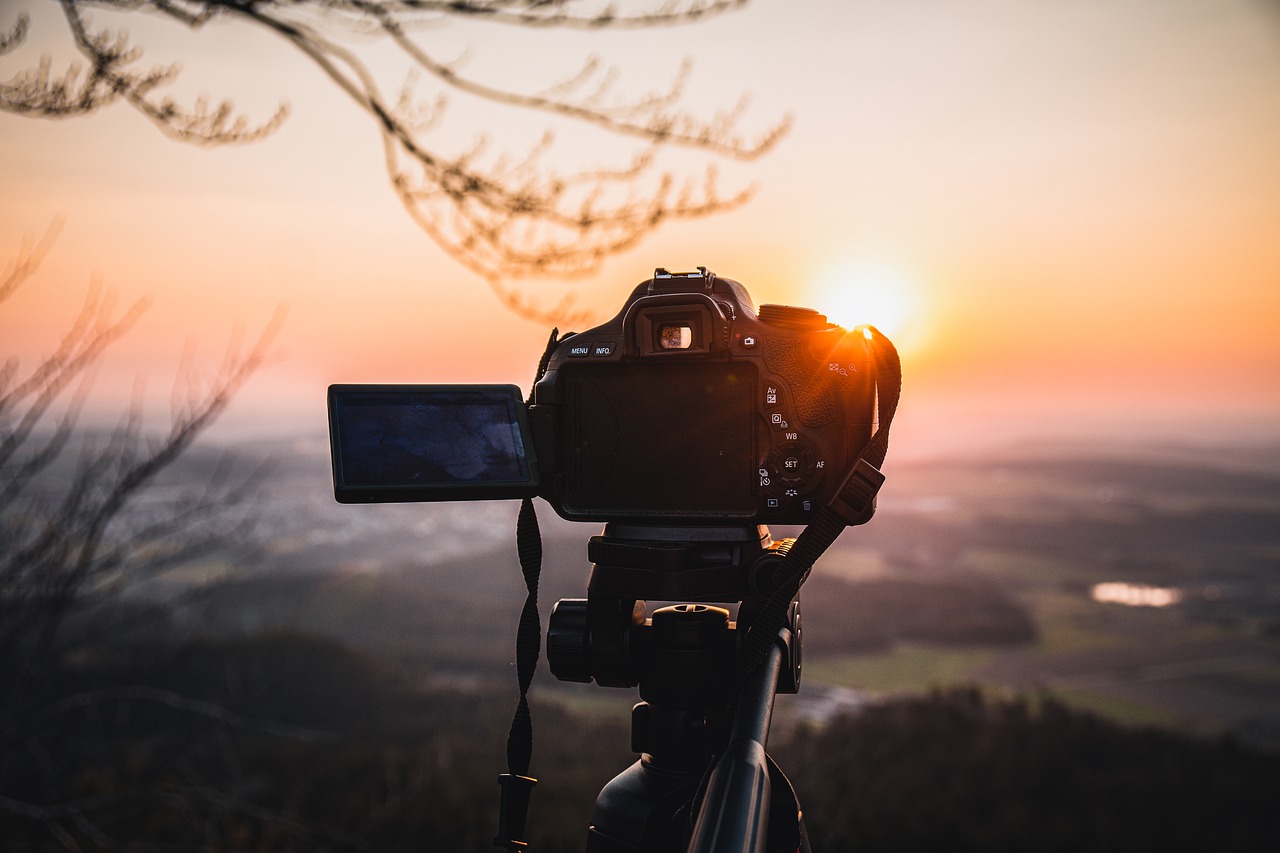
Believe it or not – there’s a right and wrong way to hold your camera. A lot of newbies don’t hold their camera properly, leading to shaky or poor-quality photos. Investing in a tripod is probably a good idea if you want to prevent camera shake, but unless you’re shooting in low light situations, you won’t need one anyway. Hold your camera with both hands – use your right hand to grasp the right side of the camera and use your left hand to cradle the lens and support the camera’s weight. Furthermore, the closer the camera is to your body, the stiller you’ll be able to hold it.
2. ISO, aperture and shutter speed
When shooting in manual mode, you need to be able to balance the ISO, aperture and shutter speed to produce good-quality and well-lit photos.
ISO controls the camera’s light sensitivity. If you’re shooting outdoors, switch your ISO setting to 100 or 200. If you’re shooting indoors, a higher ISO (400 to 800) is recommended to prevent grainy, low-lit photos – unless that’s the style you’re going for, of course!
Aperture refers to the opening in your lens. It controls how much light manages to get through to the camera’s main sensor. A wide aperture is ideal when you’re shooting an individual as it isolates the subject, but a narrow aperture is needed f you’re shooting a group.
Shutter speed is self-explanatory – it’s how long the shutter stays open when you’re taking a photo. A fast shutter is ideal if you want to freeze a moving subject, as a longer shutter would blur the motion.
3. Pre-shoot tip
Make sure that you check your settings – especially the ISO – pre-shoot. Plan the ISO according to your location to avoid any mishaps – like doing a whole shoot on ISO 800 on a bright, summer day, and ending up with an over-exposed, final product (try explaining that to a client!). Make a habit of resetting your ISO every time you finish a shoot, before chucking the camera in your camera bag and calling it a day.
4. The famous rule of thirds
You’ve probably heard people talking about this rule. We don’t blame you if you’re not sure what it really means and how you should implement it. Of course, photography is all about creativity and self-expression, but some rules are worth looking into…especially if they result in better photos. Simply put, the rule of thirds is based on the aesthetic concept that photos look better when the objects in them are well-balanced. Imagine a grid that’s diving your frame into nine, equal boxes. Place your subjects at the points where the imaginary lines intersect. If it helps, turn on the grid option on your camera until the rule of thirds becomes an instinct rather than a precept.
5. Background is everything!
Let’s face it – no one wants to look at a photo where the background distracts the viewer from the main subject. It simply isn’t aesthetically appealing. Start with simple yet effective background – a white wall can go a long way, especially if you’re shooting people. Muted colours and plain patterns also tend to work well. Remember – the focus should be on the subject, and the background should enhance them, not detract from them!
Turn your digital photos into physical photo prints and art prints with Snap & Print!
Make your personalised photo product NOW!