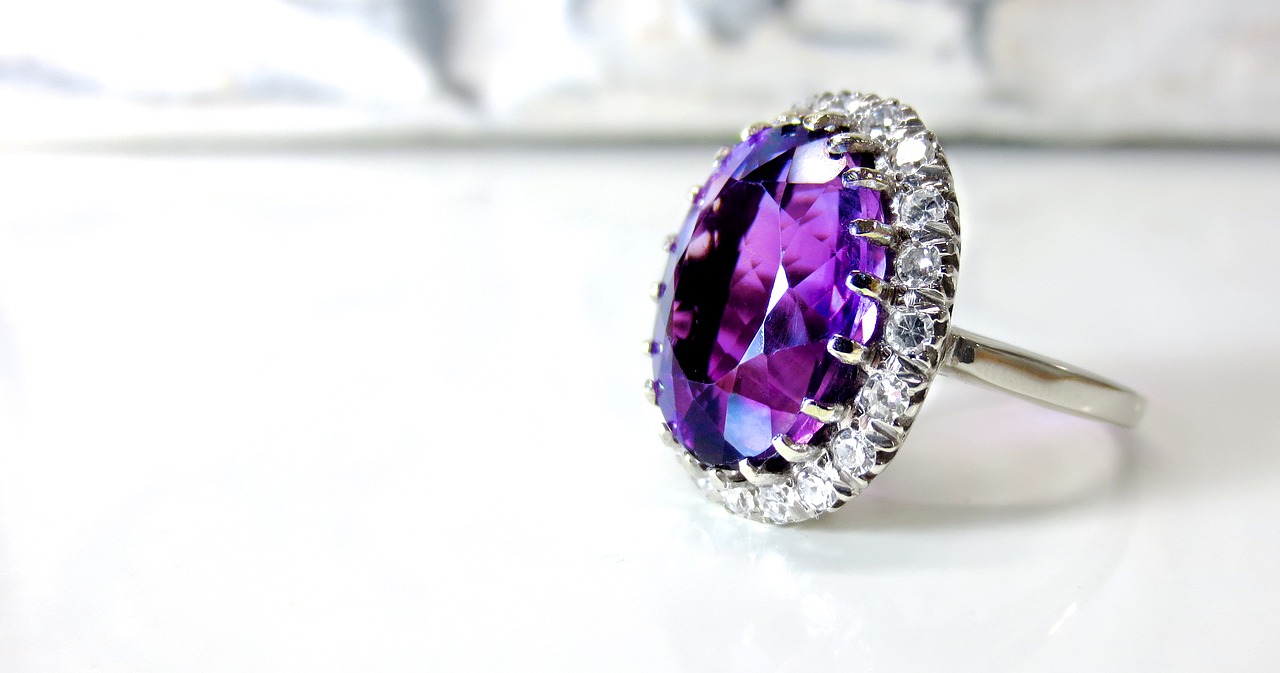
Commissioning a professional photographer to take photos of your jewellery pieces is costly. However, doing a DIY job instead of opting for a professional can be challenging and stress-inducing. Jewellery products are small, intricate and shiny – causing unwanted reflections and resulting in unappealing photos.
Thankfully, our guide will help you avoid the most common jewellery photography rookie mistakes.
Opt for natural light
When photographing jewellery, using your camera or phone’s flash is a big no-no. Since your jewellery pieces are inherently shiny, they will reflect light, leading to unappealing photos with shadows and light spots.
You can avoid all of this by using natural lighting. Open your windows on a sunny day, and position your jewellery near the windows. Indirect light works better than direct light. Play around with different camera/phone settings and different jewellery positionings for the perfect series of shots.
Use white paper as a backdrop
If you can’t afford to rent a studio for a day, you’ll be pleased to learn that white paper makes the perfect DIY jewellery backdrop. A white piece of paper is ideal as it doesn’t alter the jewellery’s hues. It also reflects light, making your jewellery look as stunning as it is in real life. Best of all, jewellery’s small size means that you don’t need a wide white wall to make it work. An A4 does the trick.
Invest in a macro lens
Jewellery’s small size means that you need to invest in a macro lens. Macro lenses make small objects look life-size. Photographers use them to focus from infinity to 1:1 magnification (i.e., same size as the object is IRL).
Purchasing a lens with a focal length of 60mm is recommended. This type of macro lens is cheaper than a 1:1 macro lens, and you can still obtain 0.5x magnification.
Use a tripod
Avoid blurry photos by purchasing a sturdy tripod. A tripod with a removable tripod ball head is recommended as it allows for fluid movements, increased stability and angled shots. If you use a tripod ball head, you can also secure the tripod at your chosen angle – which is a no brainer if you’re shooting jewellery.
We also recommend a spirit level, especially if you’re just starting out. This piece of equipment enables you to check if your tripod is levelled and helps you avoid tilted shots.
Use a mannequin bust or a model
Using a mannequin bust enables potential buyers to get an idea of how a necklace would look like on them. Mannequin busts are made from highly durable plastic and are therefore long-lasting, i.e., a worthy investment.
Alternatively, ask a friend if they can be your jewellery model for a day. Models are ideal if you want to showcase the multitude of ways that your product can be worn. Furthermore, a (human) model makes your product look relatable and your e-commerce platform more professional.